Try out the Robot Framework MCP server without any installation
How to try out the MCP server for Robot Framework in the Robotmk Starter Lab.
Want to have AI agents like ChatGPT or Claude Desktop write tests for you?
Anyone who has tried this before will be familiar with the problem: the agents invent keywords and libraries that don’t actually exist – and they have no way of interacting with the application being tested.
The result is test code that looks plausible on paper but doesn’t work in practice. This is where the MCP Server for Robot Framework comes in: it can use Robot Framework directly and thus validate every step.
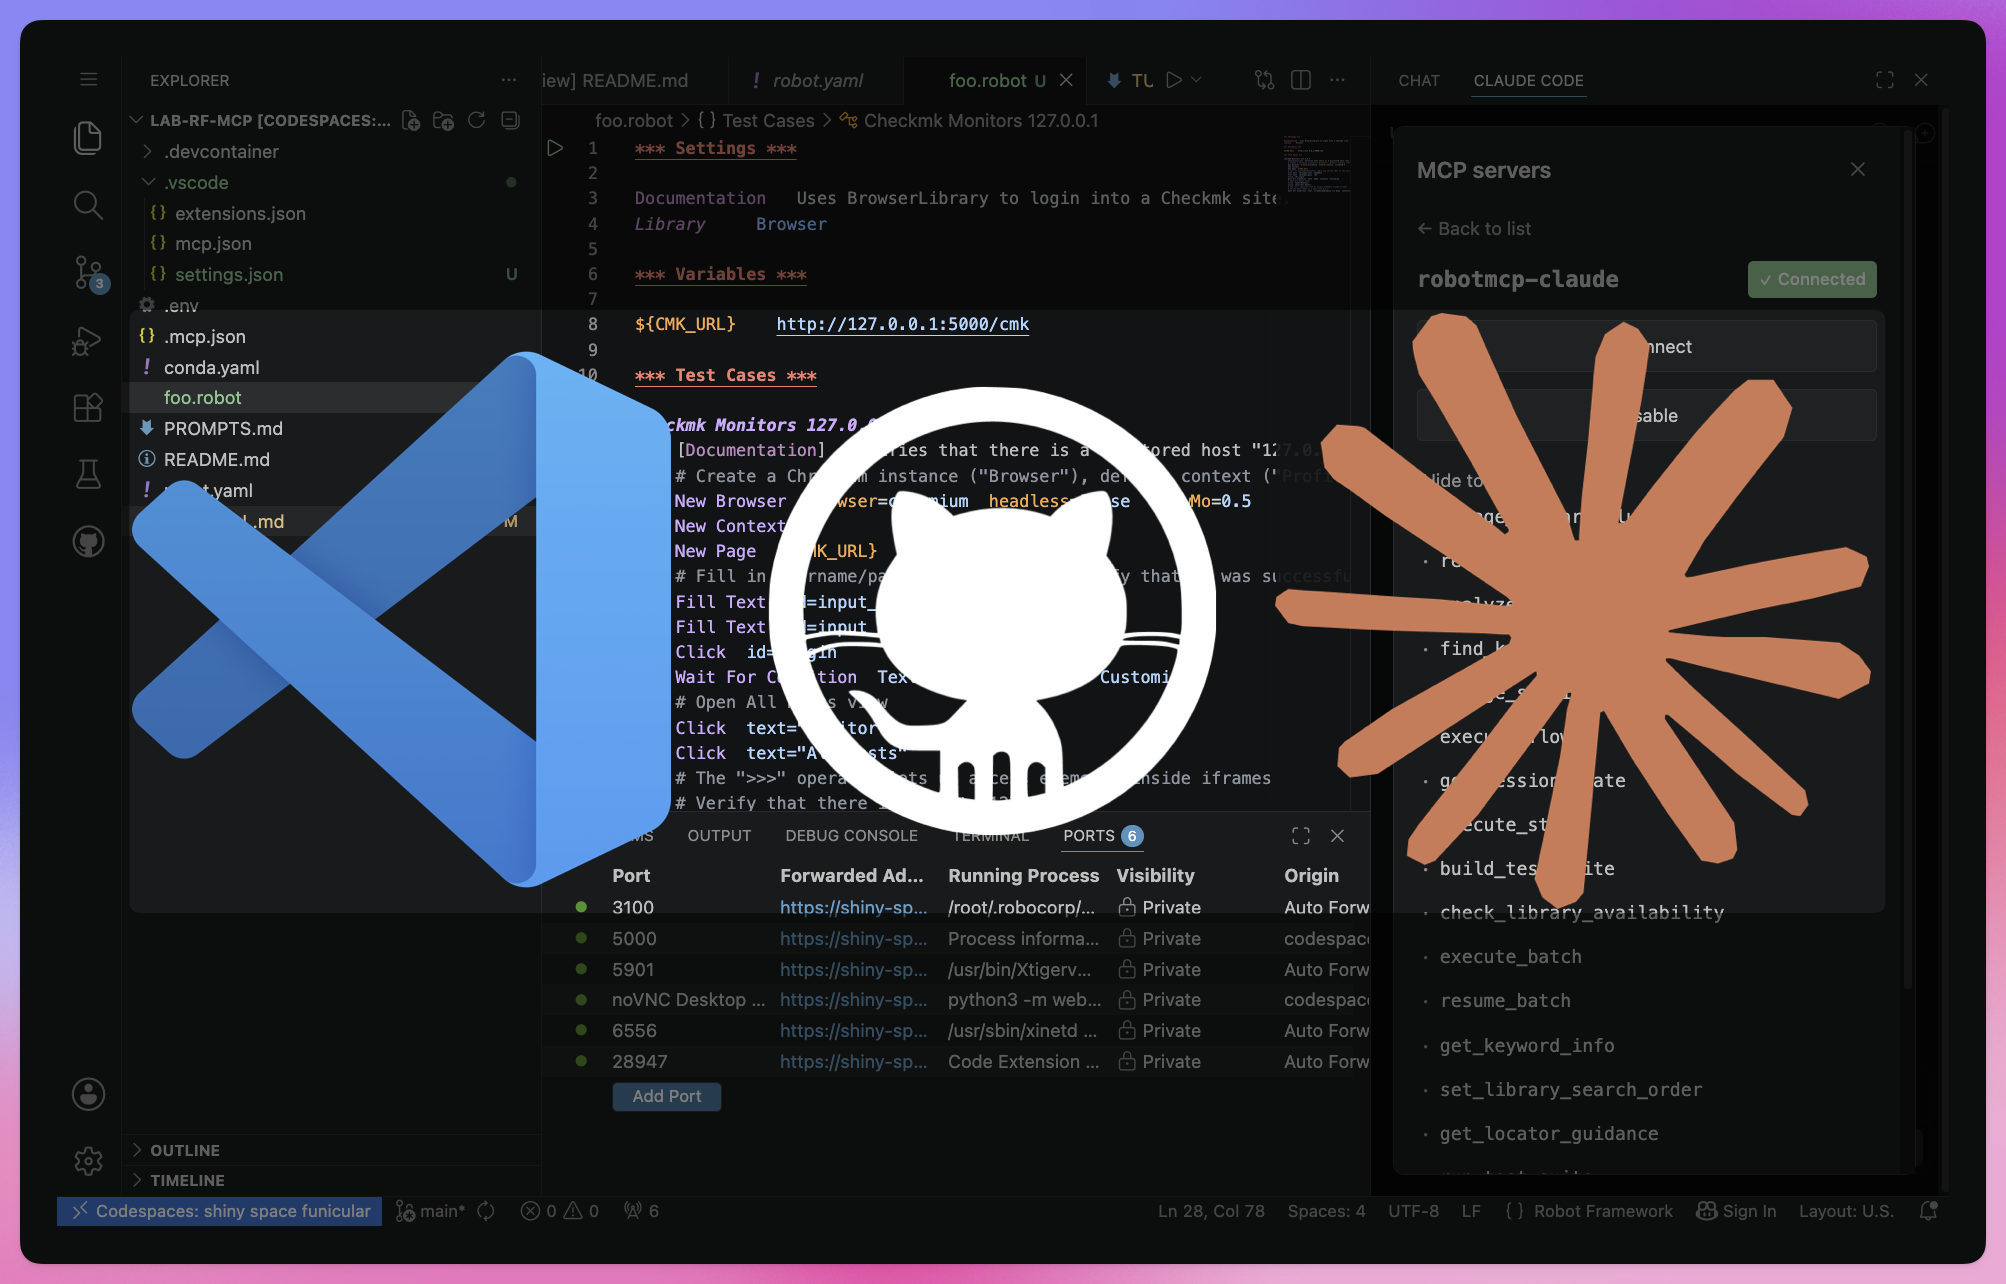
In this tutorial, I’ll show you how to try it out directly in the Robotmk-Starter Lab – entirely online, with no local installation required. The Lab supports both Claude Code and GitHub Copilot
Introduction: AI Agents vs. MCP Server
Why Chat/Agent Mode is not ideal
AI agents such as ChatGPT, Claude Desktop or GitHub Copilot cannot generate reliable Robot Framework code in pure chat mode. There are several reasons for this:
- No access to the test environment: The agent has no idea which RF libraries are installed or which keywords are actually available.
It operates solely on the basis of its training knowledge – which is inevitably incomplete and out of date. - No interaction with the AUT: To write meaningful tests, you need to be able to ‘question’ the application under test: What elements are in the DOM? Does the application respond to a specific click? What does an API call return?
In chat mode, this is simply not possible. - No feedback loop: Not even the best developer can conjure up working code out of thin air. Development is the iterative process of
execute -> observe -> adapt.
A chat agent generates code once without ever having executed or validated it.
The result looks plausible, but is almost certain to fail.
The result: Fictitious keywords, non-existent libraries, tests that look syntactically correct but don’t run – and a lot of wasted time.
MCP: The ‘USB standard’ for AI tools
An MCP (Model Context Protocol) server solves precisely this problem: it encapsulates specific capabilities – in the case of Robot Framework, for example, listing available keywords, analysing a scenario, generating a test case or executing a keyword directly – and makes them available to the AI agent via a unified API.
Info: MCP is an open standard from Anthropic. Just as a USB device can be connected to any USB hub, an MCP server offers its tools to any compatible AI agent – whether it’s Claude, Copilot or another model.
The key difference from chat mode: The agent no longer works blindly!
It can introspect the RF environment, execute keywords and evaluate the result – before planning the next step.
Step 1: Launch the Lab
The Robotmk-Starter Repo is a collection of ready-to-run Robot Framework examples, templates and labs.
I have presented the Starter Repo in detail in a separate article; here you can find the most important information: Robotmk-Starter: Get started straight away with Synthetic Monitoring. Quick guide for the RF-MCP Lab:
Prerequisites:
- GitHub account (to use the Codespace)
- AI:
- Copilot budget (since the change in June 2026, the allowance has become significantly smaller) or
- A Claude subscription (Pro Plan or API)
Steps:
- Open https://github.com/elabit/robotmk-starter
- Scroll down to the ‘/labs’ section and click on the link ‘try out’ next to ‘rf-mcp’. This will open the repository for this lab.
- Click on Code -> Codespaces and then on the three dots: then click on ‘New with options…’ (this is the only way to give the container 4 CPUs instead of 2)
- In the new tab ‘Create codespace for Robotmk/lab-rf-mcp’, select 4-core and click on Create Codespace.
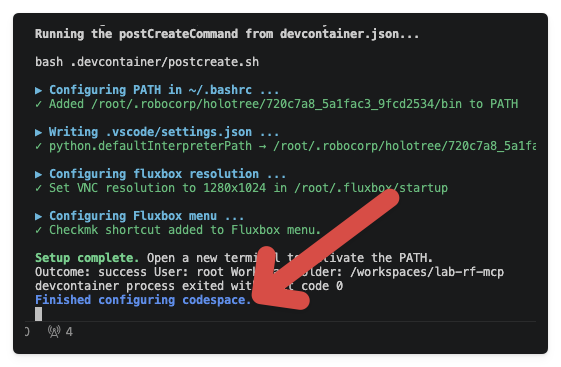
Now go and grab a coffee ☕️ – the container image is being loaded online, packages are being installed and RCC is setting up the environment for you. The whole process takes about 8 minutes.
Note: If you’re familiar with GitHub Codespace Prebuilds: a prebuild would reduce the start-up time from ~8 to ~1 minute. I haven’t managed to get this working yet – I’d appreciate any tips in the comments.
Make sure you wait until the Codespace is fully set up before continuing!
Step 2: Set up RF-MCP (Claude)
The RF-MCP server can be used with both GitHub Copilot and Claude Code – the configuration files for both agents are already prepared in the lab.
Essentially, there are just two files each that are used to inform the agent about the MCP server (note the different directories). The MCP servers have been given descriptive names so that they can be clearly distinguished in the tool log.
Copilot MCP Config
- File:
.vscode/mcp.json - Name: robotmcp-vsc
As Copilot is integrated directly into VS Code, it registers the MCP server immediately thanks to the JSON file.
You can also tell this by the fact that the file already contains ‘inline’ buttons to control the MCP server:
{
  ‘servers’: {
    ✔️Running | Stop | Restart | 18 Tools | 2 prompts
    ‘robotmcp-vsc’: {
      ‘type’: ‘stdio’,
      “command”: ‘/root/.rcc-env/bin/python’,
      ‘args’: [‘-m’, ‘robotmcp.server’],
      ‘env’: {
        “PATH”: ‘/root/.rcc-env/bin:/usr/local/sbin:/usr/local/bin:/usr/sbin:/usr/bin:/sbin:/bin’
      }
    }
  }
}
Claude Code MCP Config
- File:
.mcp.json - Name: robotmcp-claude
Claude Code, on the other hand, must first be installed as an extension – and logging into the Codespace requires a few more manual steps. However, this can be easily resolved with the following tutorial.
{
    ‘mcpServers’: {
        ‘robotmcp-claude’: {
            ‘type’: ‘stdio’,
            ‘command’: ‘/root/.rcc-env/bin/python’,
            “args”: [
                ‘-m’,
                ‘robotmcp.server’
            ],
            ‘env’: {
                “PATH”: ‘/root/.rcc-env/bin:/usr/local/sbin:/usr/local/bin:/usr/sbin:/usr/bin:/sbin:/bin’
            }
        }
    }
}
2.1: Initiating authentication
Once the codespace is ready, a notification should appear in the bottom right-hand corner recommending the installation of the Claude Code Extension for VS Code. Click on it to install it.
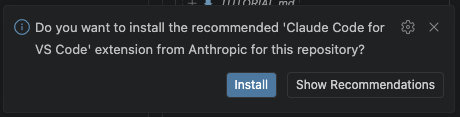
If the notification does not appear (or no longer appears), you can install it via the left-hand panel under ‘Extensions - RECOMMENDED’.
Now click on the ‘CLAUDE CODE’ tab in the right-hand side panel (not the ‘CHAT’ tab, which is for Copilot):
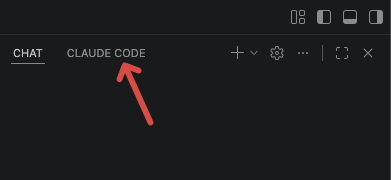
(If you only see three dots, you’ll need to drag the panel wider)
Click on ‘Login with Claude.ai Subscription’ and select ‘Copy’ in the subsequent message to copy the auth link.
2.2: Open VNC session
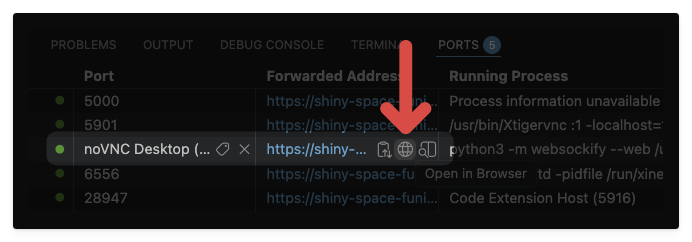
Open the Ports panel in the Codespace and start the noVNC port (globe icon):
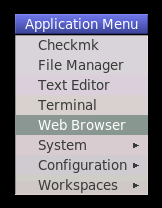
Right-click on the desktop to launch the browser (Firefox):
2.3: Logging in to Claude
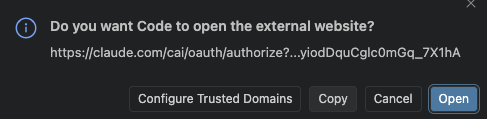
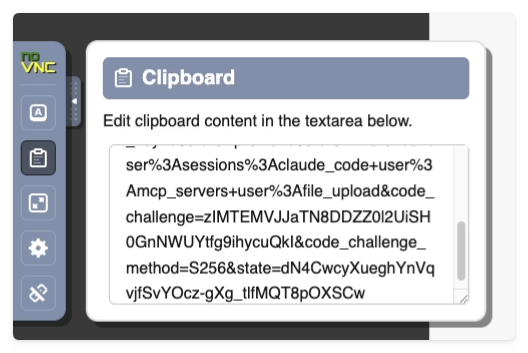
Now paste the copied Auth link into the NoVNC clipboard manager (left edge of the screen); you can then paste it into the browser’s address bar.
On the Claude.ai page that has now opened, log in with your email address.
Claude will then send you an email with the subject Secure link to log in to Claude.ai; it contains a button that allows you to generate a 6-digit code.
Switch back to the VNC session and enter this code into the Claude web form.
After clicking on ‘Authorise’, you should see that the chat widget in VS Code (Codespace) is now activated – the login was successful:

2.4: Test
Does Claude now have access to the MCP server? You can easily test this by entering /mcp-servers in the chat window.
You can also use this to query all registered tools and capabilities:
Step 3: Using the MCP server / Creating a test
In the Markdown file PROMPTS.md, I have prepared a prompt that you can use straight away. With these instructions, the agent will immediately write a test that
- opens the local Checkmk instance
- logs in the user cmkadmin
- verifies in their user profile,
- that the username is correct
- that the UI language is set to English
Select the text below the heading ‘Checkmk Login’ and paste it into the Copilot or Claude chat window. As soon as you press Enter, you can watch the agent plan the next steps. Keep an eye on both the chat window and the VNC session: you can watch the agent ‘think’ and execute the test steps in the browser.
Test
At the end, you should find a new file cmk.robot in the VS Code workspace, containing the finished Robot Framework test. By clicking on the arrow at the start of the suite, you can see for yourself that the AI agent, in this case Claude, was able to generate a runnable test with the help of the MCP server.
Conclusion
The RF-MCP server impressively demonstrates what becomes possible when AI agents no longer generate code blindly, but can actively interact with the test environment.
The difference from pure chat mode is fundamental: instead of generating code once, validation is performed iteratively.
GitHub Copilot can be set up particularly smoothly in Codespace thanks to direct VS Code integration – virtually Batteries included. Connecting Claude Code requires a few more manual steps, but works just as reliably once set up. Which of the two agents you prefer is ultimately a question of personal workflow and available budget. Both benefit equally from the MCP server – and that is precisely the strength of an open standard. In future articles, I’ll show how more complex test scenarios can be structured using the RF-MCP server and where the current limits of the implementation lie. Stay tuned.
👉 Did the setup work? Feel free to leave me a comment: